
Want to add photos onto social media i.e. school’s Twitter account? Fotor is great for that!
In my previous post about the Fotor website, I mentioned that I use this website to edit photos as I’m looking after our school website. We follow the permission to publish rule where we can’t take photos of students without permission to publish. I’ve had to use the ‘pixelate’ option for our recent excursion photos where students were wearing name tags. Having 2 identifiers in one image i.e. face and name tag, I had to spend ages pixelating the name tags of every student who had permission to publish. I found it easy to do and I was so glad I found a way to still have the photos on our school website.

You can see name tag is pixelated
Follow these steps to pixelate your photos:
Step 1: Use the website ‘Fotor’. You don’t need to create an account but can do so if you like.
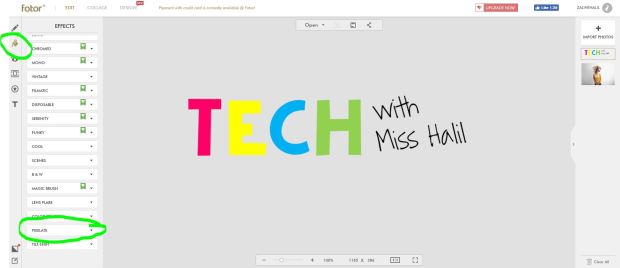
Step 2: Click on the second icon ‘effects’ (the paint tin). It will drop down some options, scroll to the bottom where you’ll find ‘pixelate’.
Step 3: Modify your brush and pixel size to your liking.

Step 4: Place the cursor over the area you want pixelated, click and move it in the direction you want.

You can see I pixelated the face of a former student as an example
Miss Halil
